How to Clean a Reusable Water Bottle and Its Lid
Pay attention to straws, seals, and places where moisture can remain trapped.
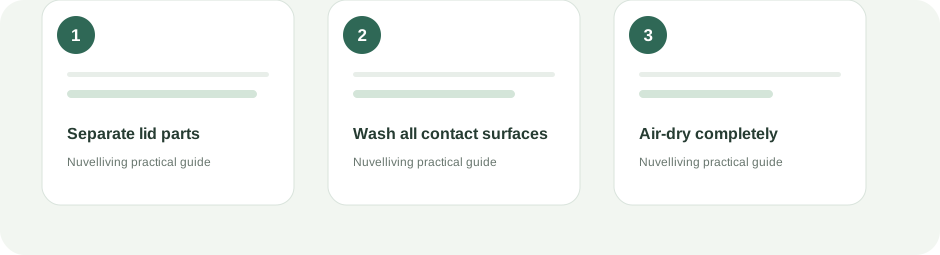
Pay attention to straws, seals, and places where moisture can remain trapped. The best approach depends on the materials, products, and conditions in your home. Start with the instructions for the specific item you are working with and make a small compatibility check before proceeding.
Step-by-step approach
- Check the bottle care label
- Disassemble removable lid parts
- Wash with warm soapy water
- Use a suitable narrow brush for straws
- Air-dry fully before reassembly
A bottle may look clean while its lid or silicone gasket holds residue.
Check whether the bottle is dishwasher-safe before using a dishwasher.
Remove the straw and seal only as the manufacturer allows, then wash threads and narrow channels with a suitable brush.
Rinse thoroughly and leave all pieces disassembled until completely dry.
Replace cracked seals or parts that cannot be cleaned properly.
Do not use boiling water unless permitted. Never mix bleach with acids or ammonia. Avoid sharp tools that can damage seals.
Take apart every washable component
Empty the bottle and separate the lid, straw, gasket, mouthpiece, and other removable parts. Check the manufacturer’s cleaning instructions because some lids contain parts that are not dishwasher-safe. Wash with dish soap and a bottle brush, paying attention to threads, corners, and the underside of seals.
Troubleshooting and common mistakes
Rinse until no soap remains. Let every component air-dry completely while disassembled; trapped moisture under a gasket can contribute to odor. Reassemble only when dry. For bottles used with milk, smoothies, or other perishable drinks, clean promptly rather than leaving residue in a closed bottle.
When to stop and get help
Do not assume a bottle is dishwasher-safe because it is made of metal or plastic. Avoid boiling, bleach, or abrasive brushes unless the manufacturer permits them. Replace cracked, warped, or persistently moldy seals and lids.
Pay special attention to the lid
The lid often has more crevices than the bottle itself. If a gasket is removable, note its orientation before taking it out and make sure it is fully seated when reassembled. A bottle that still smells after thorough cleaning may have a damaged seal or inaccessible residue.
Frequently asked question
How often should I clean a reusable bottle?
Clean it regularly and promptly after drinks that leave residue, especially milk-based or sweetened beverages. The bottle maker may give a specific schedule or dishwasher instructions. Clean the lid and seals as carefully as the bottle body.
Editorial note: This is general household information. Product instructions and official safety guidance take priority where they differ.